Sunday, 30 June 2019

Sunset shadows


Sunset Shadows


This card is a simple blending of inks on an acrylic block which I find very effective as it can conjour many different scenes in the mind.

For this project I have used the following products ;
  • Distress ink pads in , Picked Raspberry, Squeezed Lemonade, Peacock Feathers and Black Soot to add depth and a feeling of darkness to the finished image.
  • Teeny Weeny Meadow Stamps
  • A sentiment from Punky  Expressions
  • Black Versafine Ink Pad
  • White cartridge paper
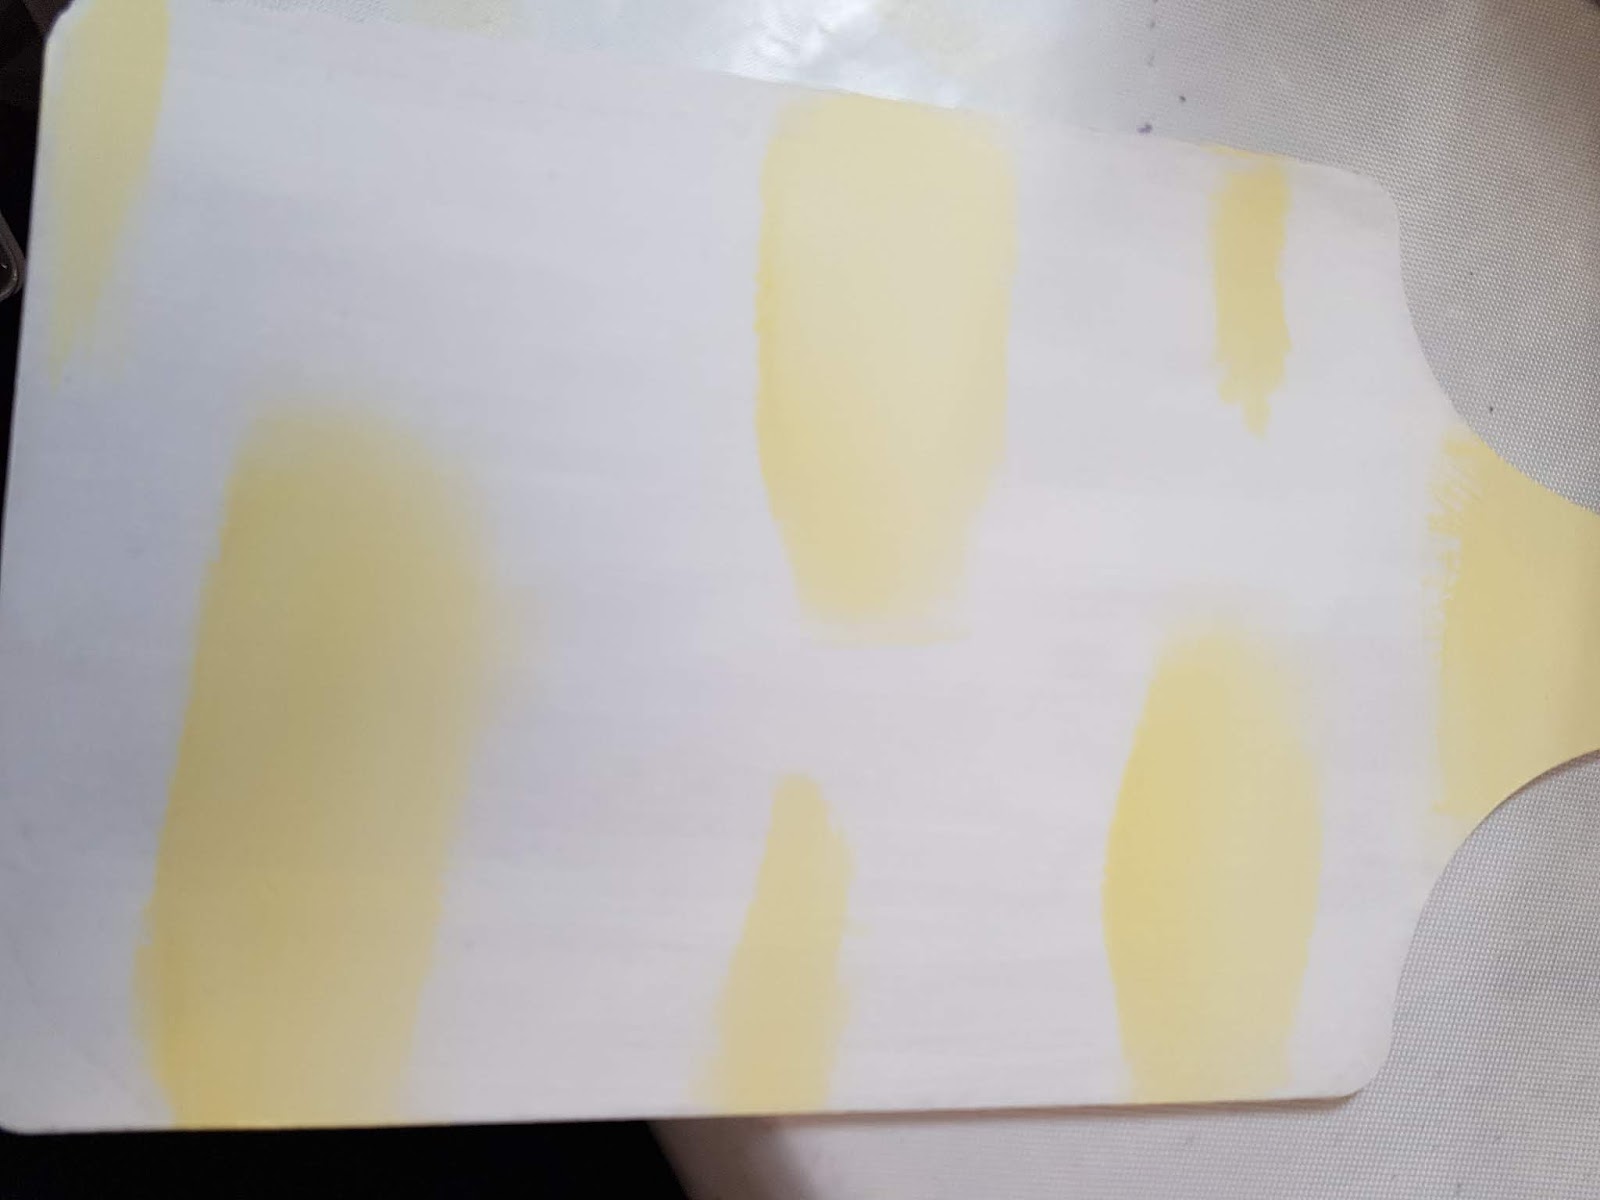
To begin the project apply the picked rasberry,peacock feathers and squeezed lemonade to a clean acrylic block, spritz with water and drag across the cartridge paper and leave to dry. If you do not have time for this or are like myself a bit impatient this process can be sped up a little with a heat gun.

I saw in my image some sloping hills and a lighter area which looked like a pathway, so using the edge of one of the tree stamps made small hedgerows.
Then with some of the other stamps from this set I added some trees and some meadow like grasses around the surrounding areas. 

Cut the topper to the size desired then using the black soot and a blending tool add the ink to the outside of your topper this adds the impression of evening time and depth to the topper, mat and layer with black and white off cuts from your stash. Mount onto a card.


Using some of the off cuts of your project stamp a sentiment and mat and layer in the same way as your topper and apply where you wish. 

Thank you for looking 

Love Doreen 

Steampunk fun


Steampunk Fun


This post is a little bit of self indulgence if I am honest, personally I love steampunk to me it is a bit of quirky fun.

For this card I have used the following products ;
  • Steampunk Sea World
  • Punky Expressions for the sentiment
  • Chocolate Baroque cartridge card Black and White
  • Gelli Plate and Brayer
  • Acrylic Paints
  • Koh -I-Noor Polycolor pencils
  • Silver and White gel pens (for highlighting)
  • Jet Black Stazon Ink Pad
Firstly using the gelli plate for the background I used acrylic paints a little pale and dark blue for the area of the sea, then dotted some pink and yellow into the mix for the sky area. Mix the colours by brayering the dots of paint to blend them. If you feel the blue is moving too far down then clean your brayer on a piece of scrap paper and continue with the blending of the sky area.

Use your white cartridge paper and whilst the paint is still wet lay the paper over and smooth firmly over the paper, you can then pull your print. 
Whilst this should be dry wait a few moments and then go ahead with your stamping. I advise the use of stazon as other inks tend to take a little longer to dry on the acrylic in my experience.

Once stamped you can highlight wherever you feel it needs lifting a little using the polycolor pencils,  and the white pen is perfect for the sails of the boat. I used the silver gel pen for the fish and to enhance areas of the boat that I feel should have a metallic look about them.

Add your sentiment of choice and with a fine liner draw a few birds in. 

Mount onto a piece of black card slightly larger than your topper and mount onto a card or even into a frame if you wish to make a gift of your artwork.


Thank you for looking

love Doreen 


Thursday, 24 January 2019

Just a Note


 Just a Note


At the weekend I noticed quite a few daffodils dotted around and about, which made me think of my stepfather who loved spring firstly with the Snowdrops ...then the daffodils and of course followed by the beautiful Bluebells  but just made me feel as if it it is all a bit premature this year, probably something to do with the mild weather we have been experiencing, although the weather man says it's all about to change to a far chillier week ahead. 


Products used in this project 

Chocolate Baroque Snowdrops and Bluebells stamps
Chocolate Baroque Smooth cream paper
Black Versafine inkpad
Inktense or watercolour pencils .... Koh i noor are another favoured choice of mine. 
Pearlised card from stash

With this post I have simply stamped, roughly coloured with inktense pencils although any watercolour medium would work equally as well.  


Activate the pencils with either water or a clear sparkle pen, I have chosen water for a simple effect.


When dry mount onto a pearlised card then position to suit your preference. 

Thank you for looking and leaving your comments

love Doreen 


Sunday, 13 January 2019

New Home


New Home


The reason for this New Home is a personal one, my daughter and her family have been living at home with my husband and myself and though somewhat cramped we have got through relatively well. They move into a new home in the coming week or two, hence the card .... 


Products used are :

Chocolate Baroque  Home Sweet Home stamp set  
Chocolate Baroque Masking Tissue
Versafine Clair Nocturne ink pad 
Distress Inkpads : Lemonade, Tumbled Glass and Bundled Sage
Distress Inks Pens : Crushed Olive, Forest Moss, Rusty Hinge, Wild Honey and Pumice Stone
Permanent Ink pen 
Black card for mat and card blank 

To make this card :


  1. Stamp image onto card and another of the image onto the masking tissue, cut out mask on the inside of the outside edge line. There is no need to cut out the tree just the house is fine.
  2. Place mask over image.
  3. If you have a large enough circle punch cut out a mask from the centre of a piece of copy paper or alternatively use a die, put the circle punched out to onside and keep, then place the outer around the house, this can either be held in place or taped if desired. Using stencil brushes add Lemonade to the centre taking colour from side to side  over the the house mask and this will give you your 'sun' remove copy paper and using a small piece of low tack tape put your centre over the Sun to protect the colour from contamination.Add tumbled glass to the area above the sun allowing it to fade towards the top of the card. Do the same with the Bundled sage below the house. 
  4. Remove masks
  5. Colour the roof using the Rusty Hinge and Wild Honey ( I used a tile to put some colour onto and picked up this using a damp paintbrush, adding water to dilute the colour as needed ), Crushed Olive and Forest Moss were used for the grassy area, bushes and I added some buds to the bare tree. Finally I added the Pumice Stone for shadows under facias, window sills and a watered down wash over the white areas of the house.
  6. With the permanent ink pen I formed a border to the card using dots and dashes. 
  7. Finally stamp and add the Sentiment and raise from image using double sided foam tape.
Mat and layer using foam pads between the black card and topper.

Thank you for looking and leaving your comments 

Love Doreen

Tuesday, 8 January 2019

Spring is in the Air


        Spring is in Air


With buds appearing somewhat prematurely on my Honeysuckle I thought to myself  poor thing must think ' Spring is in the Air' how confusing the mild weather we have been experiencing is to our poor gardens. So this is cheese board is the product of those thoughts.

      Products used were as follows ;
  • Chocolate Baroque Spring is in the Air stamp set 
  • Chocolate Baroque Tissue Paper 
  • Black Stazon inkpad 
  • Chalk / Acrylic paints
  • Deco Art one step crackle
  • Brush on gloss glaze
  • White Gesso
  • MDF cheese board 

  1. Paint board with Gesso and put to one side to dry.
  2. Take tissue, stamps and stazon inkpad and stamp images desired.
  3. Using water and a fine paint brush dampen around the images and tear them away to separate the images.
  4. Using the chalk or acrylic paints randomly paint the board. 
  5. To adhere the images to the board once paint has dried I used a thin coat of the one step crackle. 
  6. Wait for this to dry then colour images use a fine brush with the chalk paints.
  7. I used a cream colour for the snowdrops and to add a little highlight to some of the other images.
Finally I used a scrap of linen textured card from my odd bits of cut offs and used a fine liner permanent pen to write the words, cut these up and go round edges with either a chisel tipped permanent marker or your black inkpad. Dry brush using the bronze to tie in with the earthy grounding of the images.

  A few photos at various stages of the project 


Randomly add paint


A close up image of the texture the thin layer of crackle glaze which I think adds to the earthy look at the base of images.


Thank you for looking

Love Doreen


Tuesday, 21 August 2018

June Fairy


June Fairy


Products Used :

Chocolate Baroque June Fairy stamps
Watercolour Card
Distress Oxide inkpads :
Chipped Sapphire
Mermaid Lagoon
Salty Ocean

Distress inkpad 
Chipped Sapphire
White Gel Pen
Gold Gel Pen

Circular Mask 


 Thank you for looking
          
Love
Doreen


Natures Silhouettes


Nature's silhouettes


Products used ;

Chocolate Baroque White paper
Baroque Meadow stamp
Chocolate Baroque Kaleidoscope of Butterflies stencil 
A little heavy gesso 
Distress ink pads : Mowed Lawn, Chipped Sapphire and Wild Honey applied using soft blending brushes.
Sentiment from the Essence of Nature stamp set.
Black Archival ink pad


Thank you for looking

love Doreen 

Friday, 10 August 2018

Beautiful Blue Poppies


Beautiful Blue Poppies


   Products used :

Chocolate Baroque Pretty Poppies
Acrylic paints
Deco art easy pour
Canvas Board
Black ink pad
Alcohol Pens to colour

Simple if a little time consuming regarding drying time needed after pour.
Mix the acrylic paints of your choice with the easy pour medium, pour directly onto canvas board and leave to dry.
Stamp onto dried pour and on reflection I would heat emboss if only to make the line work more visible in a photo.
Colour to compliment the colours used in your pour.


Thank you for looking 

Love Doreen 


Sunday, 15 April 2018

15 Minute Projects with Chocolate Baroque


15 Minute Projects 
with 
Chocolate Baroque


Hi everyone, I as everyone I know who crafts likes to be able to make a quick card every now and then or possibly even needs to .... 

A favourite thing of mine is to use odds and ends and backing papers that I have made myself or scraps left over from other projects ... why waste them ? 

The following projects do just that and they are quick too, all stamps are available on the Chocolate Baroque Website.

Honey Bee Bookmark


The bookmark is using stamps from the Honey Bee stamp set. 

Take a white off cut from any previous project and if need be cut to suit your bookmark sleeve with a piece of backing card.

Stamp and Emboss the image and sentiment. Using a clear gel pen to make some trails around the image randomly. Whilst this is drying add some colour to the bee. 

Using a blender pad add colour to your white card ( you gel pen should be dry by now ) mount on background, pop into bookmark sleeve and add ribbon if desired. 

The Rose Tree


The Rose Tree stamps set.

Stamp image and verse onto white card using a permanent brown inkpad ( I used the Versafine Habanero)  As I used Inktense Pencils to add a little colour to the tree itself and to ground it, so as it wouldn't appear to be floating in mid air. Use either a clear sparkle brush pen or plain water brush to activate colour. Mount onto black card and then to ready folded card of choice.

Nature


Essence of Nature Stamp Set

Both coloured backgrounds on this card are from my stash .... Just cut to size desired stamp and heat emboss the image and a sentiment of your choice. Mount onto card.

Serenity


Serenity Stamp Set

For this card I simply used another background from my stash .... this one has been made using spray inks with a mica to add shine, if I remember correctly but any background will do the backing card is just a bought paper cut to size.
Stamp and heat emboss and using colours of choice add some colour to image. Mount onto card.

Thank you for looking
love 
Doreen x


Friday, 26 January 2018

Punky Romance


Chocolate Baroque

Punky Romance


This card was inspired when I was listening to men in the tea room complain about how 'slushy'  Valentines cards are .... they don't have to be I thought and so here is how I made it : 

Products used include 

Chocolate Baroque Punky Romance Stamp Set
Water Colour Card
 Sparkle Brush Pens
Black Card
7" Square card Blank
Versafine Habanero Inkpad
Metallic Gel Pens


Take the water colour card and make a rectangle using the Blue sparkle brush Pen, then using a large wide wet paint brush, drag the colour out to fill the centre of the rectangle.
I used diagonal strokes of the brush and found that it left the edges of the card slightly darker.
Let this dry naturally. Cut this down to size to give you your desired size topper for the 7"card blank.

Choose stamps from the set and stamp these onto the card when dry using the Versafine Habanero Inkpad. 

Check this is dry, then enhance the stamped image using the Metallic Gel Pens the image does not need colouring .... just random highlights of the image.

Then take a paintbrush and a pot of water with a tissue or kitchen roll to blot, remove the colour from the background in areas of the stamped image to give a faux bleached effect. 

I decided that apart from the large Love stamp from the set this card needed no other sentiment ..... I think it says everything it needs to. Making a not too 'slushy' Valentines Card for a man. 

Using a piece of black card mat and layer onto the 7" card blank.


Thank you for Looking 

Love Doreen

Wednesday, 10 January 2018

Chocolate Baroque Butterfly Dreams


Chocolate Baroque

Butterfly Dreams


Products used include

Chocolate Baroque Butterfly Dreams 
Glossy Card Black and White
Distress ink pads : Twisted Citron
                           Wild Honey
                                      Picked Raspberry
Speedball Brayer
Stickles
Stazon Jet Black ink pad 
Clear embossing powder


Before I begin may I just take this opportunity to say this is my first blog post for Chocolate Baroque and I can not begin to say how excited I am to have been given this chance to join the Guest Design Team. My Thanks go out to Lesley, David and Judith.

I have come a very long way since beginning to make cards with decoupage kits when the very thought of stamping terrified me but the more I watched the more I wanted to give it a try .... 


This is the first of the Chocolate Baroque stamps I ever used and bought after attending a workshop with the talented Eileen Godwin who took me out of my comfort zone and introduced me to bright colours and so began my love of Chocolate Baroque stamps  .... they can be dressed up or down or just stamped and left they look good no matter what you do with them. 

Take the Distress inks and using a blending mat put one stripe of each colour on the mat and blend them into one another then onto the white card. 
I used diagonal strokes as my choice but vertical or horizontal will work well too.Leave to dry.

When dry use an anti static bag all over the coloured card. Stamp image and heat emboss using the clear embossing powder.

Cut coloured card to 5 and a half inches square saving the scrap piece of card to stamp and emboss a sentiment on. Then cut the Black card to 5 and 3/4 inches square. Mat and layer the two together and mount onto a 7" square card blank. 

Apply stickles randomly to the card and set aside to dry. Then take the left over pieces of card stamp,emboss and layer a sentiment onto the card. When I did mine I chose to cut a funky shape to match the shape the stamp made this can easily be done using a large pair of scissors. Add sentiment to card using either glue gel or foam pads to 3d it above the stamped image.


Thank you for looking

Love Doreen 


Friday, 29 December 2017

Katya


Chocolate Baroque

Katya


Products used include

Shaving Foam ( I find the cheapest works best )
White Card
A piece of card to mat & layer that picks up on colours used
Alcohol Inks
Glitter Brush Pens
Blue Lagoon Versafine Ink Pad
Embossing Powder
Glossy Accents
Gems from Stash


This stamp is in my eyes beautiful no matter how or where it is used.

Take a white piece of card ( I used a piece of A4 and cut it down when it was dry )

Make a bed of shaving foam on a tray of some description, take 3 alcohol inks and drip them randomly into the shaving foam, using a kebab stick or pokey tool swirl to mix the two and not to much though or it will resemble mud. Place the card on top and press into the foam, lift gently and take a ruler and scrape the foam off the card, put to one side to dry.

When dry dust with an anti static bag and stamp directly on the background using the Versafine and quickly apply the embossing powder to stamped image. Heat emboss.

Take a glitter pen of choice and using a pallet mix with water until the desired shade is reached and apply to image with a fine paint brush. Use this technique with all colours, mixing them to achieve colours of choice if desired. 
When dry apply glossy accents to gems in headdress tassels, eyes and lips, put somewhere safe from harm to dry. 

Mat and layer onto an A5 card blank,finish off with a sentiment and apply embellishments of choice. I have used gems from my stash.

Thank you for looking 

Love Doreen