Wednesday 31 July 2019

Pearly Grunge


Pearly Grunge


This is my first play with Pearlescent  Alcohol Inks and I have to say I am really impressed with them.

Products used in this project :
  • A selection of Pearlescent Alcohol Inks 
  • Black Stazon
  • Silk Card 2 pieces cut at 6" x 4" 
  • Black cartridge paper
  • Floral Grunge Stamp 
  • Amazing Mackintosh Words for Sentiment
  • Blending solution

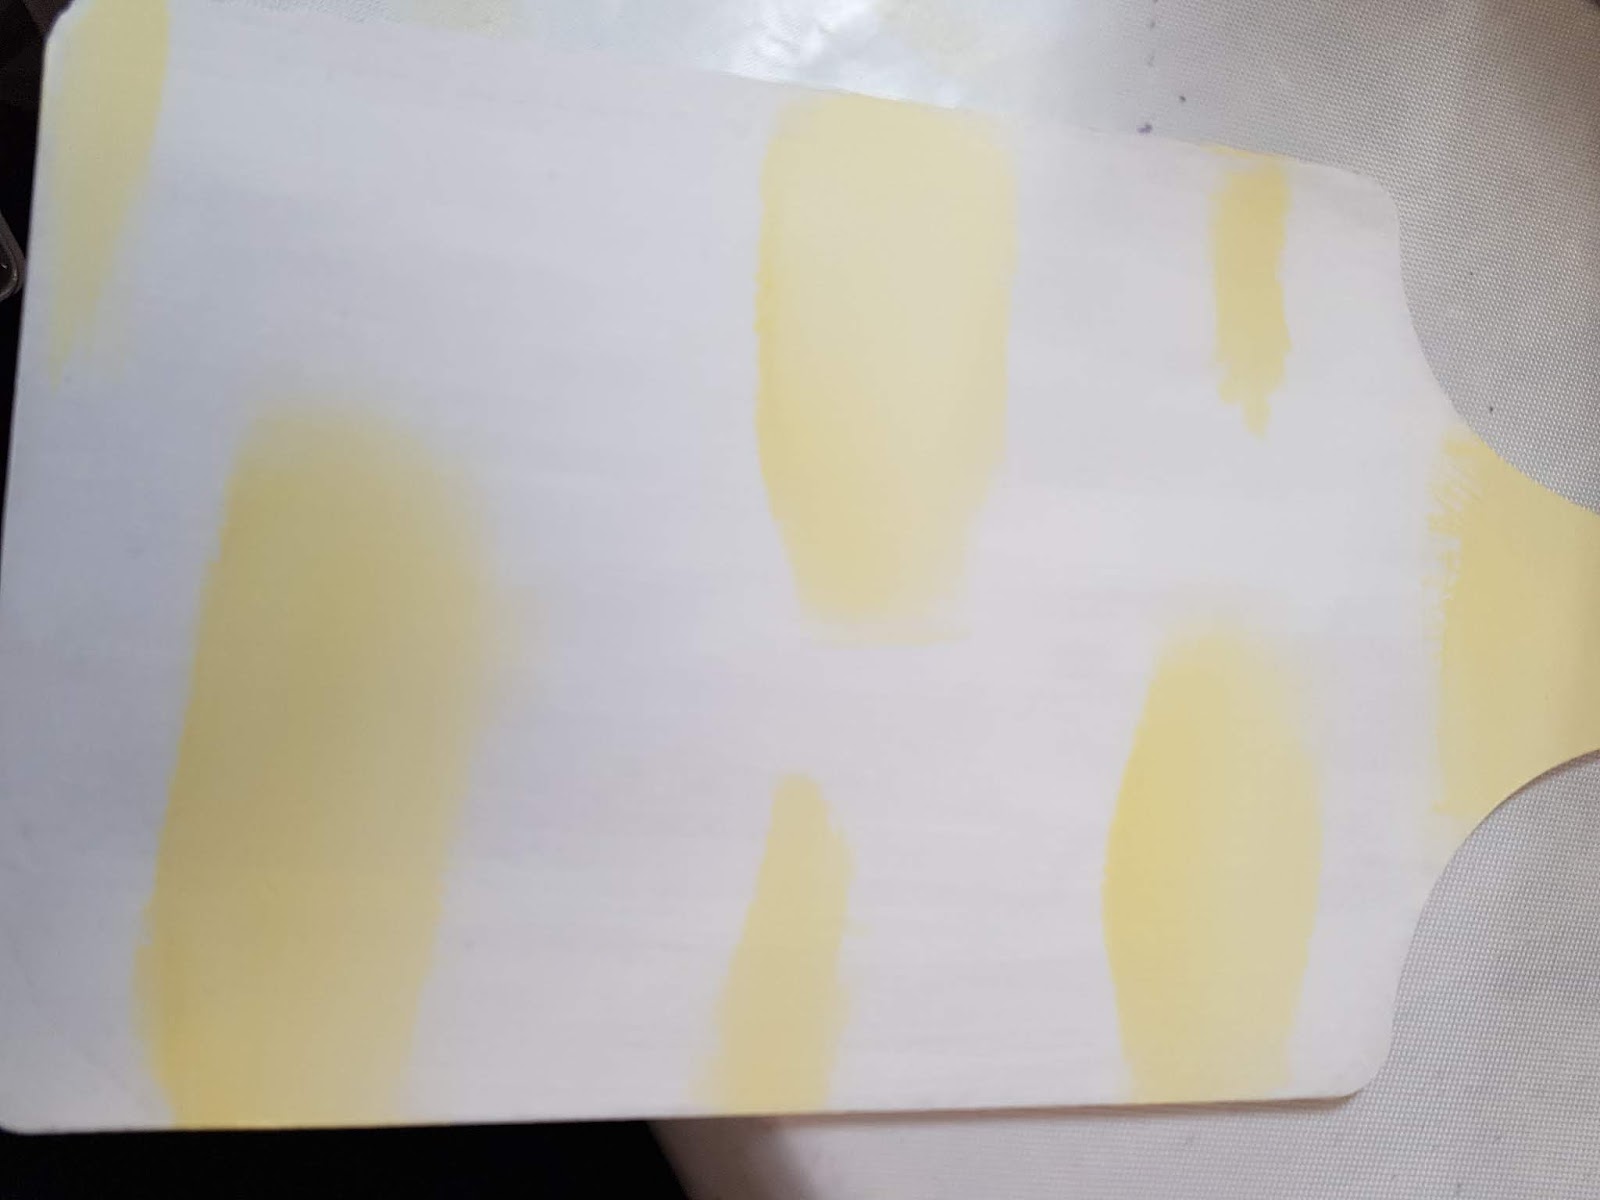
To make this card it really could be any simpler, add your inks randomly over one piece of your silk card and then using the blending solution to help the inks to blend drip this over your inks in the centre of your spots of ink. Whilst the ink is still wet using your second piece of card, silk side face down place this on top of your wet ink pressing down firmly and without taking too long over this process peel the two apart. You then have two pieces of inked card, choose which one you prefer for your stamped image and keep the other one to cut a small piece of for your sentiment. 

Stamp your main image onto your pearlised silk card. Then stamp your sentiment and mat both of these onto black card and mount onto a card of choice. 

I love the way the texture is added to the image simply in the way you pull your card apart after sandwiching the two together ..... so very effective and perfect for a quick last minute make.

Thank You for Looking 

Love Doreen 

Sunday 30 June 2019

Sunset shadows


Sunset Shadows


This card is a simple blending of inks on an acrylic block which I find very effective as it can conjour many different scenes in the mind.

For this project I have used the following products ;
  • Distress ink pads in , Picked Raspberry, Squeezed Lemonade, Peacock Feathers and Black Soot to add depth and a feeling of darkness to the finished image.
  • Teeny Weeny Meadow Stamps
  • A sentiment from Punky  Expressions
  • Black Versafine Ink Pad
  • White cartridge paper
To begin the project apply the picked rasberry,peacock feathers and squeezed lemonade to a clean acrylic block, spritz with water and drag across the cartridge paper and leave to dry. If you do not have time for this or are like myself a bit impatient this process can be sped up a little with a heat gun.

I saw in my image some sloping hills and a lighter area which looked like a pathway, so using the edge of one of the tree stamps made small hedgerows.
Then with some of the other stamps from this set I added some trees and some meadow like grasses around the surrounding areas. 

Cut the topper to the size desired then using the black soot and a blending tool add the ink to the outside of your topper this adds the impression of evening time and depth to the topper, mat and layer with black and white off cuts from your stash. Mount onto a card.


Using some of the off cuts of your project stamp a sentiment and mat and layer in the same way as your topper and apply where you wish. 

Thank you for looking 

Love Doreen 

Steampunk fun


Steampunk Fun


This post is a little bit of self indulgence if I am honest, personally I love steampunk to me it is a bit of quirky fun.

For this card I have used the following products ;
  • Steampunk Sea World
  • Punky Expressions for the sentiment
  • Chocolate Baroque cartridge card Black and White
  • Gelli Plate and Brayer
  • Acrylic Paints
  • Koh -I-Noor Polycolor pencils
  • Silver and White gel pens (for highlighting)
  • Jet Black Stazon Ink Pad
Firstly using the gelli plate for the background I used acrylic paints a little pale and dark blue for the area of the sea, then dotted some pink and yellow into the mix for the sky area. Mix the colours by brayering the dots of paint to blend them. If you feel the blue is moving too far down then clean your brayer on a piece of scrap paper and continue with the blending of the sky area.

Use your white cartridge paper and whilst the paint is still wet lay the paper over and smooth firmly over the paper, you can then pull your print. 
Whilst this should be dry wait a few moments and then go ahead with your stamping. I advise the use of stazon as other inks tend to take a little longer to dry on the acrylic in my experience.

Once stamped you can highlight wherever you feel it needs lifting a little using the polycolor pencils,  and the white pen is perfect for the sails of the boat. I used the silver gel pen for the fish and to enhance areas of the boat that I feel should have a metallic look about them.

Add your sentiment of choice and with a fine liner draw a few birds in. 

Mount onto a piece of black card slightly larger than your topper and mount onto a card or even into a frame if you wish to make a gift of your artwork.


Thank you for looking

love Doreen 


Thursday 24 January 2019

Just a Note


 Just a Note


At the weekend I noticed quite a few daffodils dotted around and about, which made me think of my stepfather who loved spring firstly with the Snowdrops ...then the daffodils and of course followed by the beautiful Bluebells  but just made me feel as if it it is all a bit premature this year, probably something to do with the mild weather we have been experiencing, although the weather man says it's all about to change to a far chillier week ahead. 


Products used in this project 

Chocolate Baroque Snowdrops and Bluebells stamps
Chocolate Baroque Smooth cream paper
Black Versafine inkpad
Inktense or watercolour pencils .... Koh i noor are another favoured choice of mine. 
Pearlised card from stash

With this post I have simply stamped, roughly coloured with inktense pencils although any watercolour medium would work equally as well.  


Activate the pencils with either water or a clear sparkle pen, I have chosen water for a simple effect.


When dry mount onto a pearlised card then position to suit your preference. 

Thank you for looking and leaving your comments

love Doreen 


Sunday 13 January 2019

New Home


New Home


The reason for this New Home is a personal one, my daughter and her family have been living at home with my husband and myself and though somewhat cramped we have got through relatively well. They move into a new home in the coming week or two, hence the card .... 


Products used are :

Chocolate Baroque  Home Sweet Home stamp set  
Chocolate Baroque Masking Tissue
Versafine Clair Nocturne ink pad 
Distress Inkpads : Lemonade, Tumbled Glass and Bundled Sage
Distress Inks Pens : Crushed Olive, Forest Moss, Rusty Hinge, Wild Honey and Pumice Stone
Permanent Ink pen 
Black card for mat and card blank 

To make this card :


  1. Stamp image onto card and another of the image onto the masking tissue, cut out mask on the inside of the outside edge line. There is no need to cut out the tree just the house is fine.
  2. Place mask over image.
  3. If you have a large enough circle punch cut out a mask from the centre of a piece of copy paper or alternatively use a die, put the circle punched out to onside and keep, then place the outer around the house, this can either be held in place or taped if desired. Using stencil brushes add Lemonade to the centre taking colour from side to side  over the the house mask and this will give you your 'sun' remove copy paper and using a small piece of low tack tape put your centre over the Sun to protect the colour from contamination.Add tumbled glass to the area above the sun allowing it to fade towards the top of the card. Do the same with the Bundled sage below the house. 
  4. Remove masks
  5. Colour the roof using the Rusty Hinge and Wild Honey ( I used a tile to put some colour onto and picked up this using a damp paintbrush, adding water to dilute the colour as needed ), Crushed Olive and Forest Moss were used for the grassy area, bushes and I added some buds to the bare tree. Finally I added the Pumice Stone for shadows under facias, window sills and a watered down wash over the white areas of the house.
  6. With the permanent ink pen I formed a border to the card using dots and dashes. 
  7. Finally stamp and add the Sentiment and raise from image using double sided foam tape.
Mat and layer using foam pads between the black card and topper.

Thank you for looking and leaving your comments 

Love Doreen

Tuesday 8 January 2019

Spring is in the Air


        Spring is in Air


With buds appearing somewhat prematurely on my Honeysuckle I thought to myself  poor thing must think ' Spring is in the Air' how confusing the mild weather we have been experiencing is to our poor gardens. So this is cheese board is the product of those thoughts.

      Products used were as follows ;
  • Chocolate Baroque Spring is in the Air stamp set 
  • Chocolate Baroque Tissue Paper 
  • Black Stazon inkpad 
  • Chalk / Acrylic paints
  • Deco Art one step crackle
  • Brush on gloss glaze
  • White Gesso
  • MDF cheese board 

  1. Paint board with Gesso and put to one side to dry.
  2. Take tissue, stamps and stazon inkpad and stamp images desired.
  3. Using water and a fine paint brush dampen around the images and tear them away to separate the images.
  4. Using the chalk or acrylic paints randomly paint the board. 
  5. To adhere the images to the board once paint has dried I used a thin coat of the one step crackle. 
  6. Wait for this to dry then colour images use a fine brush with the chalk paints.
  7. I used a cream colour for the snowdrops and to add a little highlight to some of the other images.
Finally I used a scrap of linen textured card from my odd bits of cut offs and used a fine liner permanent pen to write the words, cut these up and go round edges with either a chisel tipped permanent marker or your black inkpad. Dry brush using the bronze to tie in with the earthy grounding of the images.

  A few photos at various stages of the project 


Randomly add paint


A close up image of the texture the thin layer of crackle glaze which I think adds to the earthy look at the base of images.


Thank you for looking

Love Doreen